There are a whole lot of instructions on how to set up a DIY ambilight for your TV. However, most of the instructions grab the video signal via an HDMI splitter in combination with an HDMI to RCA/AV converter. This means that you can only use the ambilight with external HDMI/RCA devices or set-top boxes.
SamyGO, like introduced in a previous post, allows to extend the functionality of our Samsung TV via various patches. The libPVRtoScart patch enables you to use the scart input as an output for the video signal of the internal TV tuner. This way, the ambilight also works when watching normal TV and doesn’t need an HDMI splitter nor an HDMI to RCA/AV converter.
I’ll use the popular software Hyperion for controlling the ambilight. As the mentioned instructions already cover the setup of Hyperion in detail, I’ll keep it very short and focus on the installation of the SamyGO patch as well as the integration of the ambilight into OpenHAB and Amazon Alexa.
Parts
The parts list is quite short and the components not too expensive. You may have some of the parts laying around somewhere.
| Part | ~ Price $ | |
|---|---|---|
| Raspberry Pi Zero W Kit (microSD Card, microUSB to USB adaptor, Case) | $20 | |
| WS2801 RGB LEDs (3m for my TV) | $18 | |
| 5V6A power supply (current depends on LED strip length) | $15 | |
| USB RCA video grabber | $10 | |
| Scart adaptor & RCA cable | $0 | |
| Total | $63 |
As the length of the LED strip depends on the size of your TV you should measure it first. Also have a look at the power consumption per meter of the LEDs and grab a power supply accordingly. Similar to normal setups, you still need an USB RCA video grabber to get the analog video signal but you don’t need an HDMI splitter nor an HDMI to RCA converter.
Hardware Setup
The hardware setup is mostly straightforward. Plug the scart adaptor into the TV and the USB video grabber via the USB to microUSB adaptor into the Pi. Then you connect both with a cinch cable. You only need the video signal if you don’t want to use the audio for other applications.
If your power supply has no USB connector, you can just connect it to pin 2 (VCC) and 6 (GND) of the Pi. Also connect the VCC and GND of the LED strip to the power supply after you mounted the strip at the backside of your TV.
The communication between the Pi and the LED strip works via SPI. For this to function properly you need to connect the clock and data pins of the LED strip with pin 23 (SCLK) and pin 19 (MOSI) of the Pi.

Software Setup
TV (SamyGO)
Like already mentioned, we use SamyGO with the libPVRtoScart patch to output the video signal of the internal TV tuner via the scart connector of the TV. I introduced SamyGO in a previous post where I also described how to enable additional features and install patches.
Raspberry Pi
If you are familiar with Raspberry Pi’s, this process is well known. I used the Raspbian Stretch Lite distro and wrote the image to the microSD card like described here. Afterwards you should set up WiFi and SSH to enable headless access without the need to connect a display via HDMI. This can be done on the microSD card directly like described in this StackExchange Answer.
Hyperion
We use Hyperion for processing the video signal and controlling the LEDs accordingly. As there are a whole lot of tutorials on this, I won’t cover it in detail. The official wiki describes everything very well. Basically you just need to install the Hyperion client Hypercon to your computer, connect via SSH to your Pi, install Hyperion with a click and reboot your Pi. Everything is described here. Afterwards you should go through the settings to tweak the color and other settings for your specific needs.
Hyperion is very powerful and also has a JSON API for controlling it. You can e.g. set effects for giving your room a cool look, even when the TV is switched off:


The API can also be used by OpenHAB via the Hyperion Binding. This way you can integrate your ambilight into your smart home solution.
Integration into OpenHAB
The Hyperion Binding makes it pretty easy to add a Hyperion server to OpenHAB. You first need to define a new thing and set the hostname and port:
Thing hyperion:serverV1:markus [ host="10.2.2.3", port=19444, priority=50, poll_frequency=15]
Afterwards you can control settings like brightness, color and effects of the Hyperion server via the corresponding item definitions:
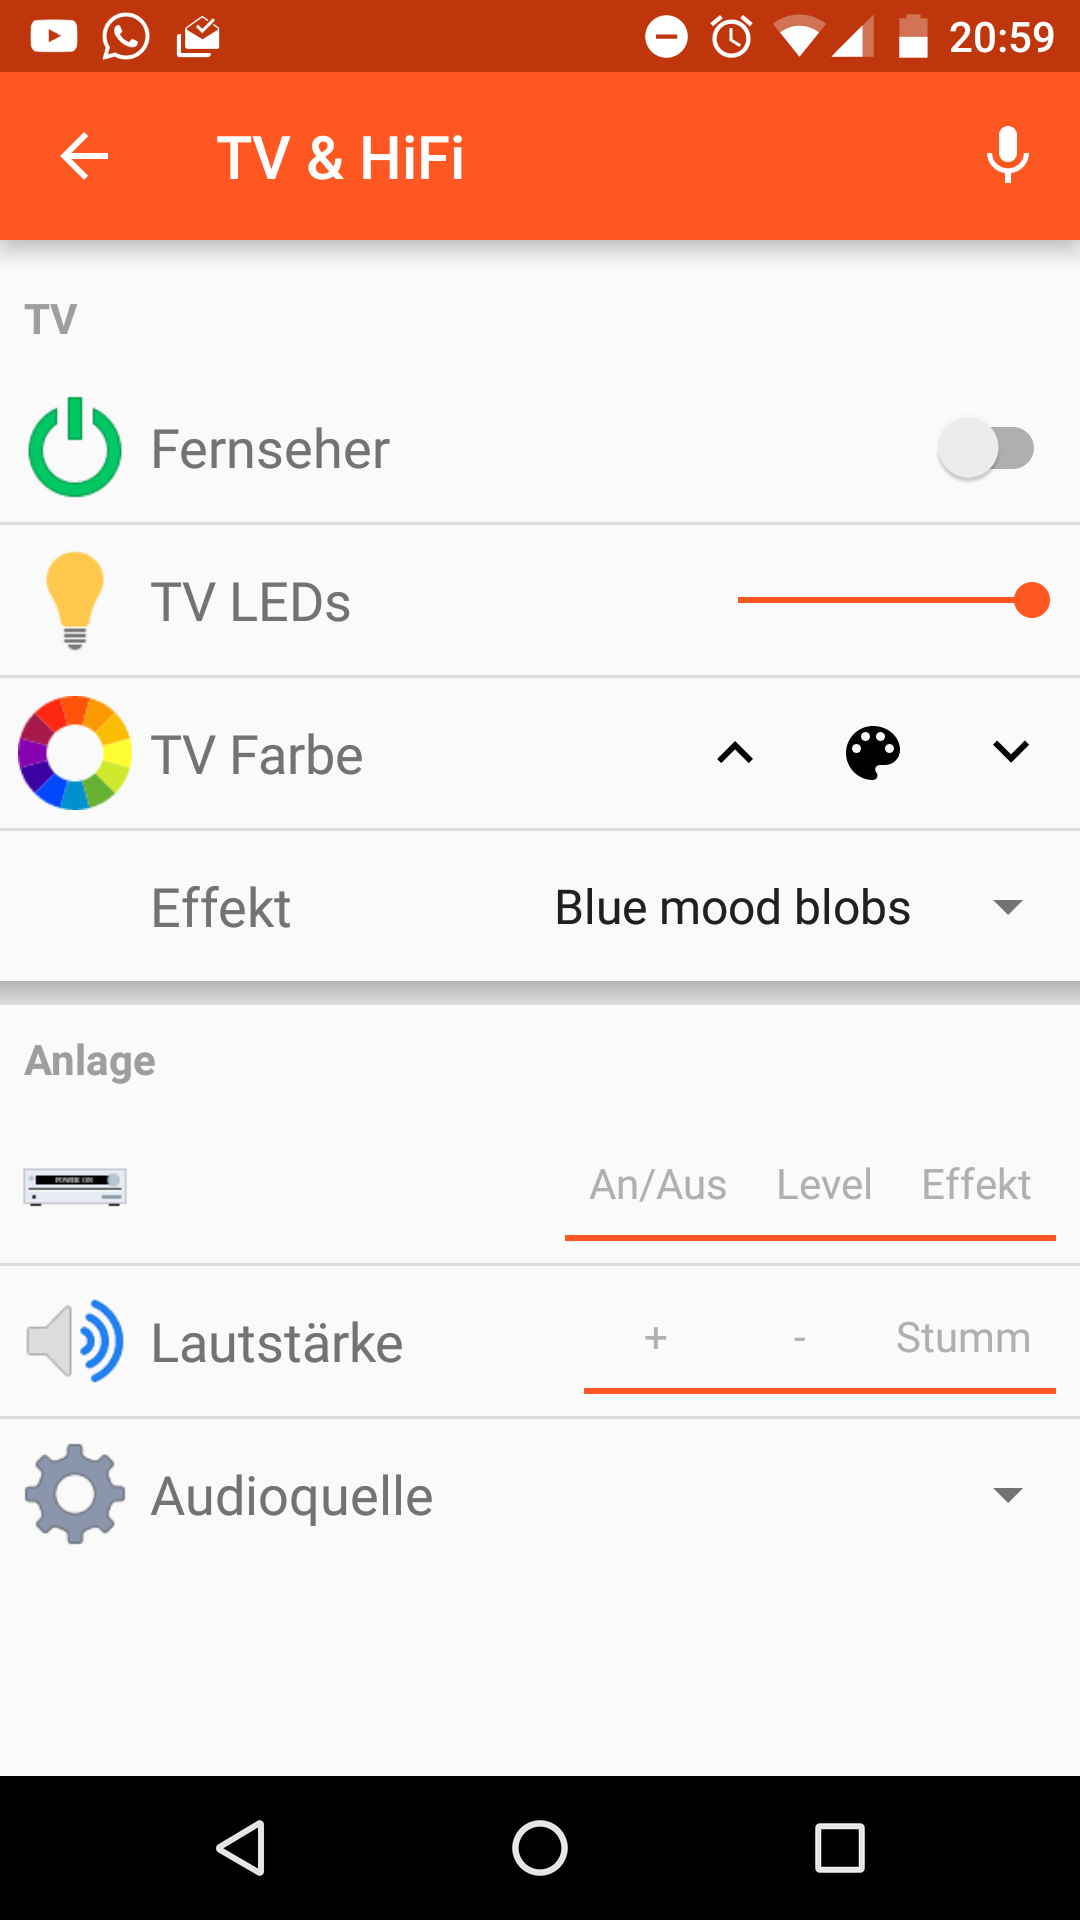
Dimmer hyperion_OG_markus_brightness   "TV LEDs [%s]" ["Lighting"]  { channel="hyperion:serverV1:markus:brightness"}
String hyperion_OG_markus_effect       "Effekt [%s]"                { channel="hyperion:serverV1:markus:effect"}
Color hyperion_OG_markus_color         "TV Farbe"     ["Lighting"]  { channel="hyperion:serverV1:markus:color"}
Next to the rather fast effects in the animations above, there are also more slow effects like Blue mood blobs. Those effects as well as the color and brightness of the ambilight can be set easily via the OpenHAB UI:

Alexa Integration
OpenHAB works together with Alexa through the Alexa OpenHAB skill. The setup of the skill is described in the OpenHAB docs here.
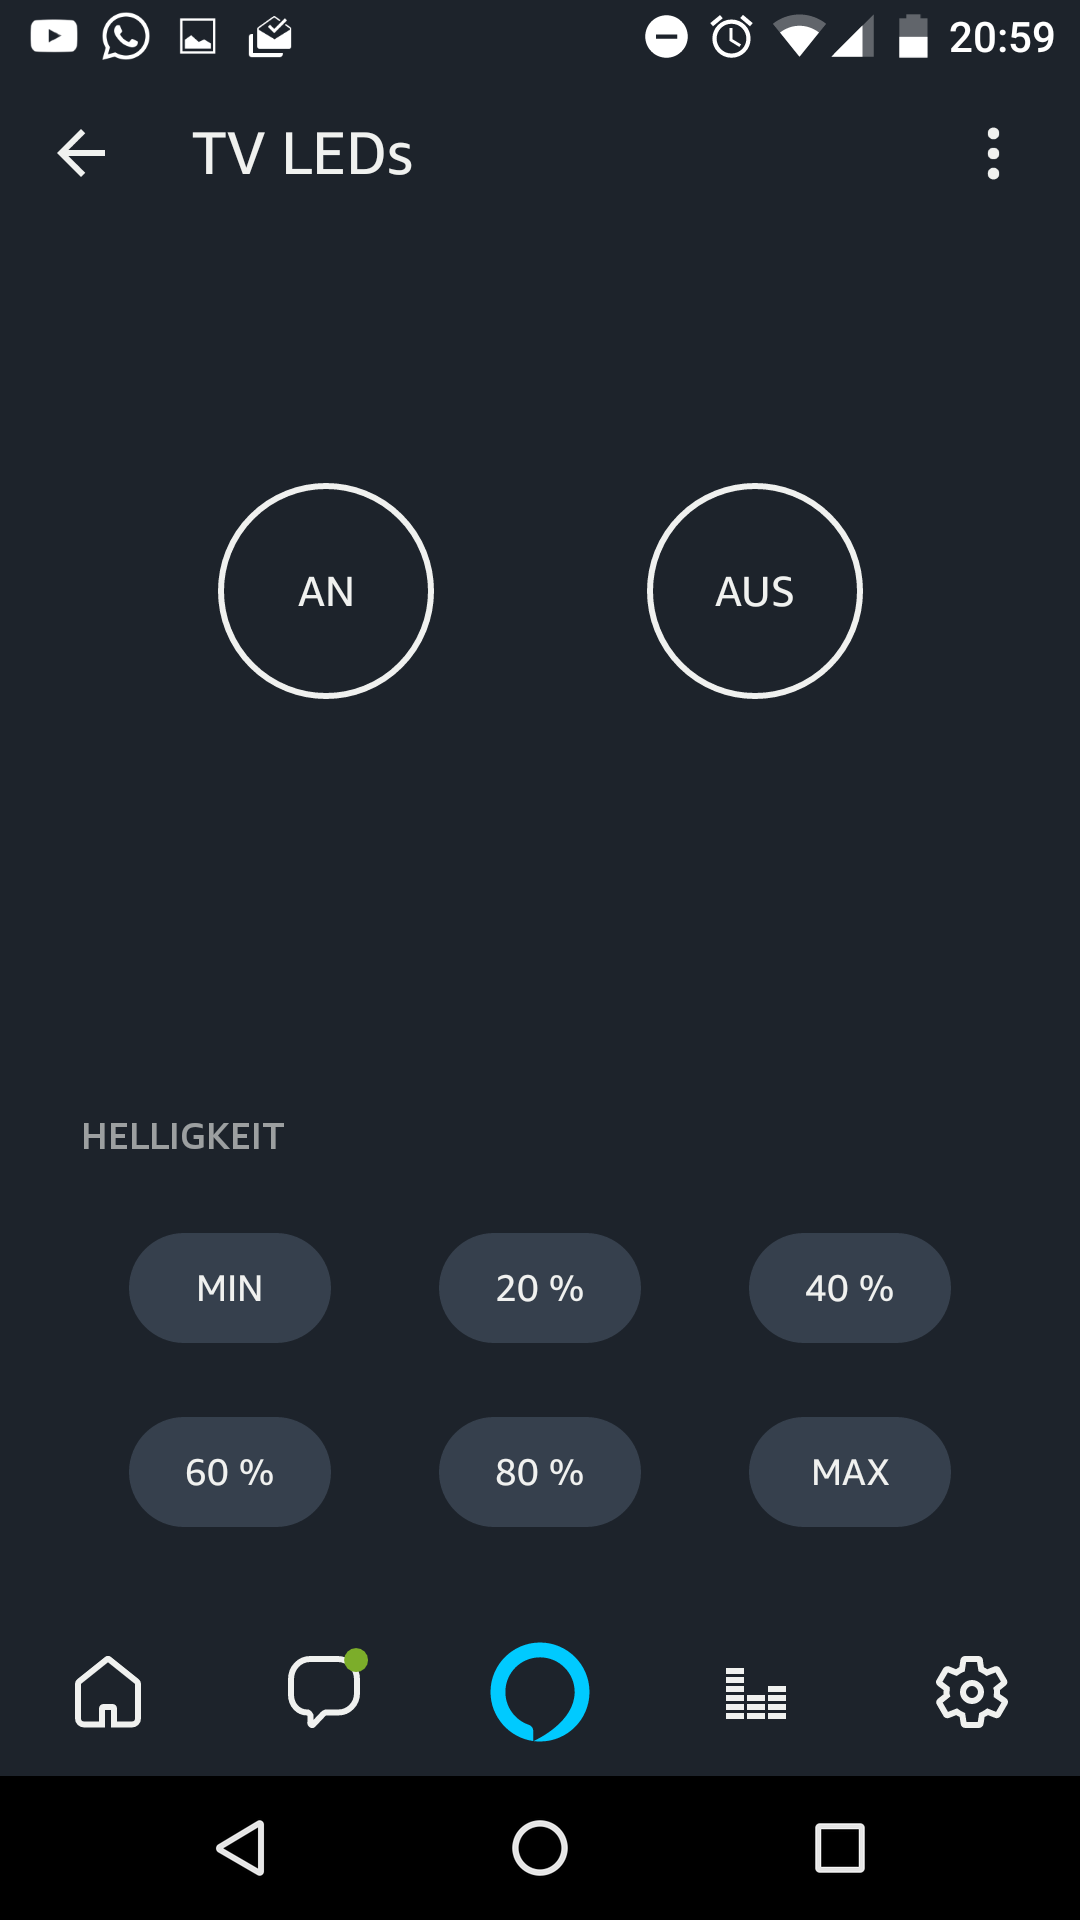
After the setup of the skill, you can add ["Lighting"] to the dimmer and color item of the ambilight. This enables the discovery of the items for the skill and therefore the Alexa app. After searching and adding these new items in the Alexa app, they’re controllable via Amazon Echo devices.

Result
Even though a DIY ambilight is nothing new and was already built by many people, the usage of a SamyGO patch for getting the video signal makes the setup even more fun and removes the limitation on external HDMI/RCA devices and the need of additional components.
A next step would be to process the video signal of the internal TV tuner on the TV itself and stream it to the Pi. This way, no USB video grabber would be needed.
In the future, I’ll also extend the setup to allow switching the video input between the internal TV tuner and other external HDMI devices. An OpenHAB rule could be used to automatically switch the signal input based on the state of the TV source which is reported by the OpenHAB Samsung TV binding.
Comments