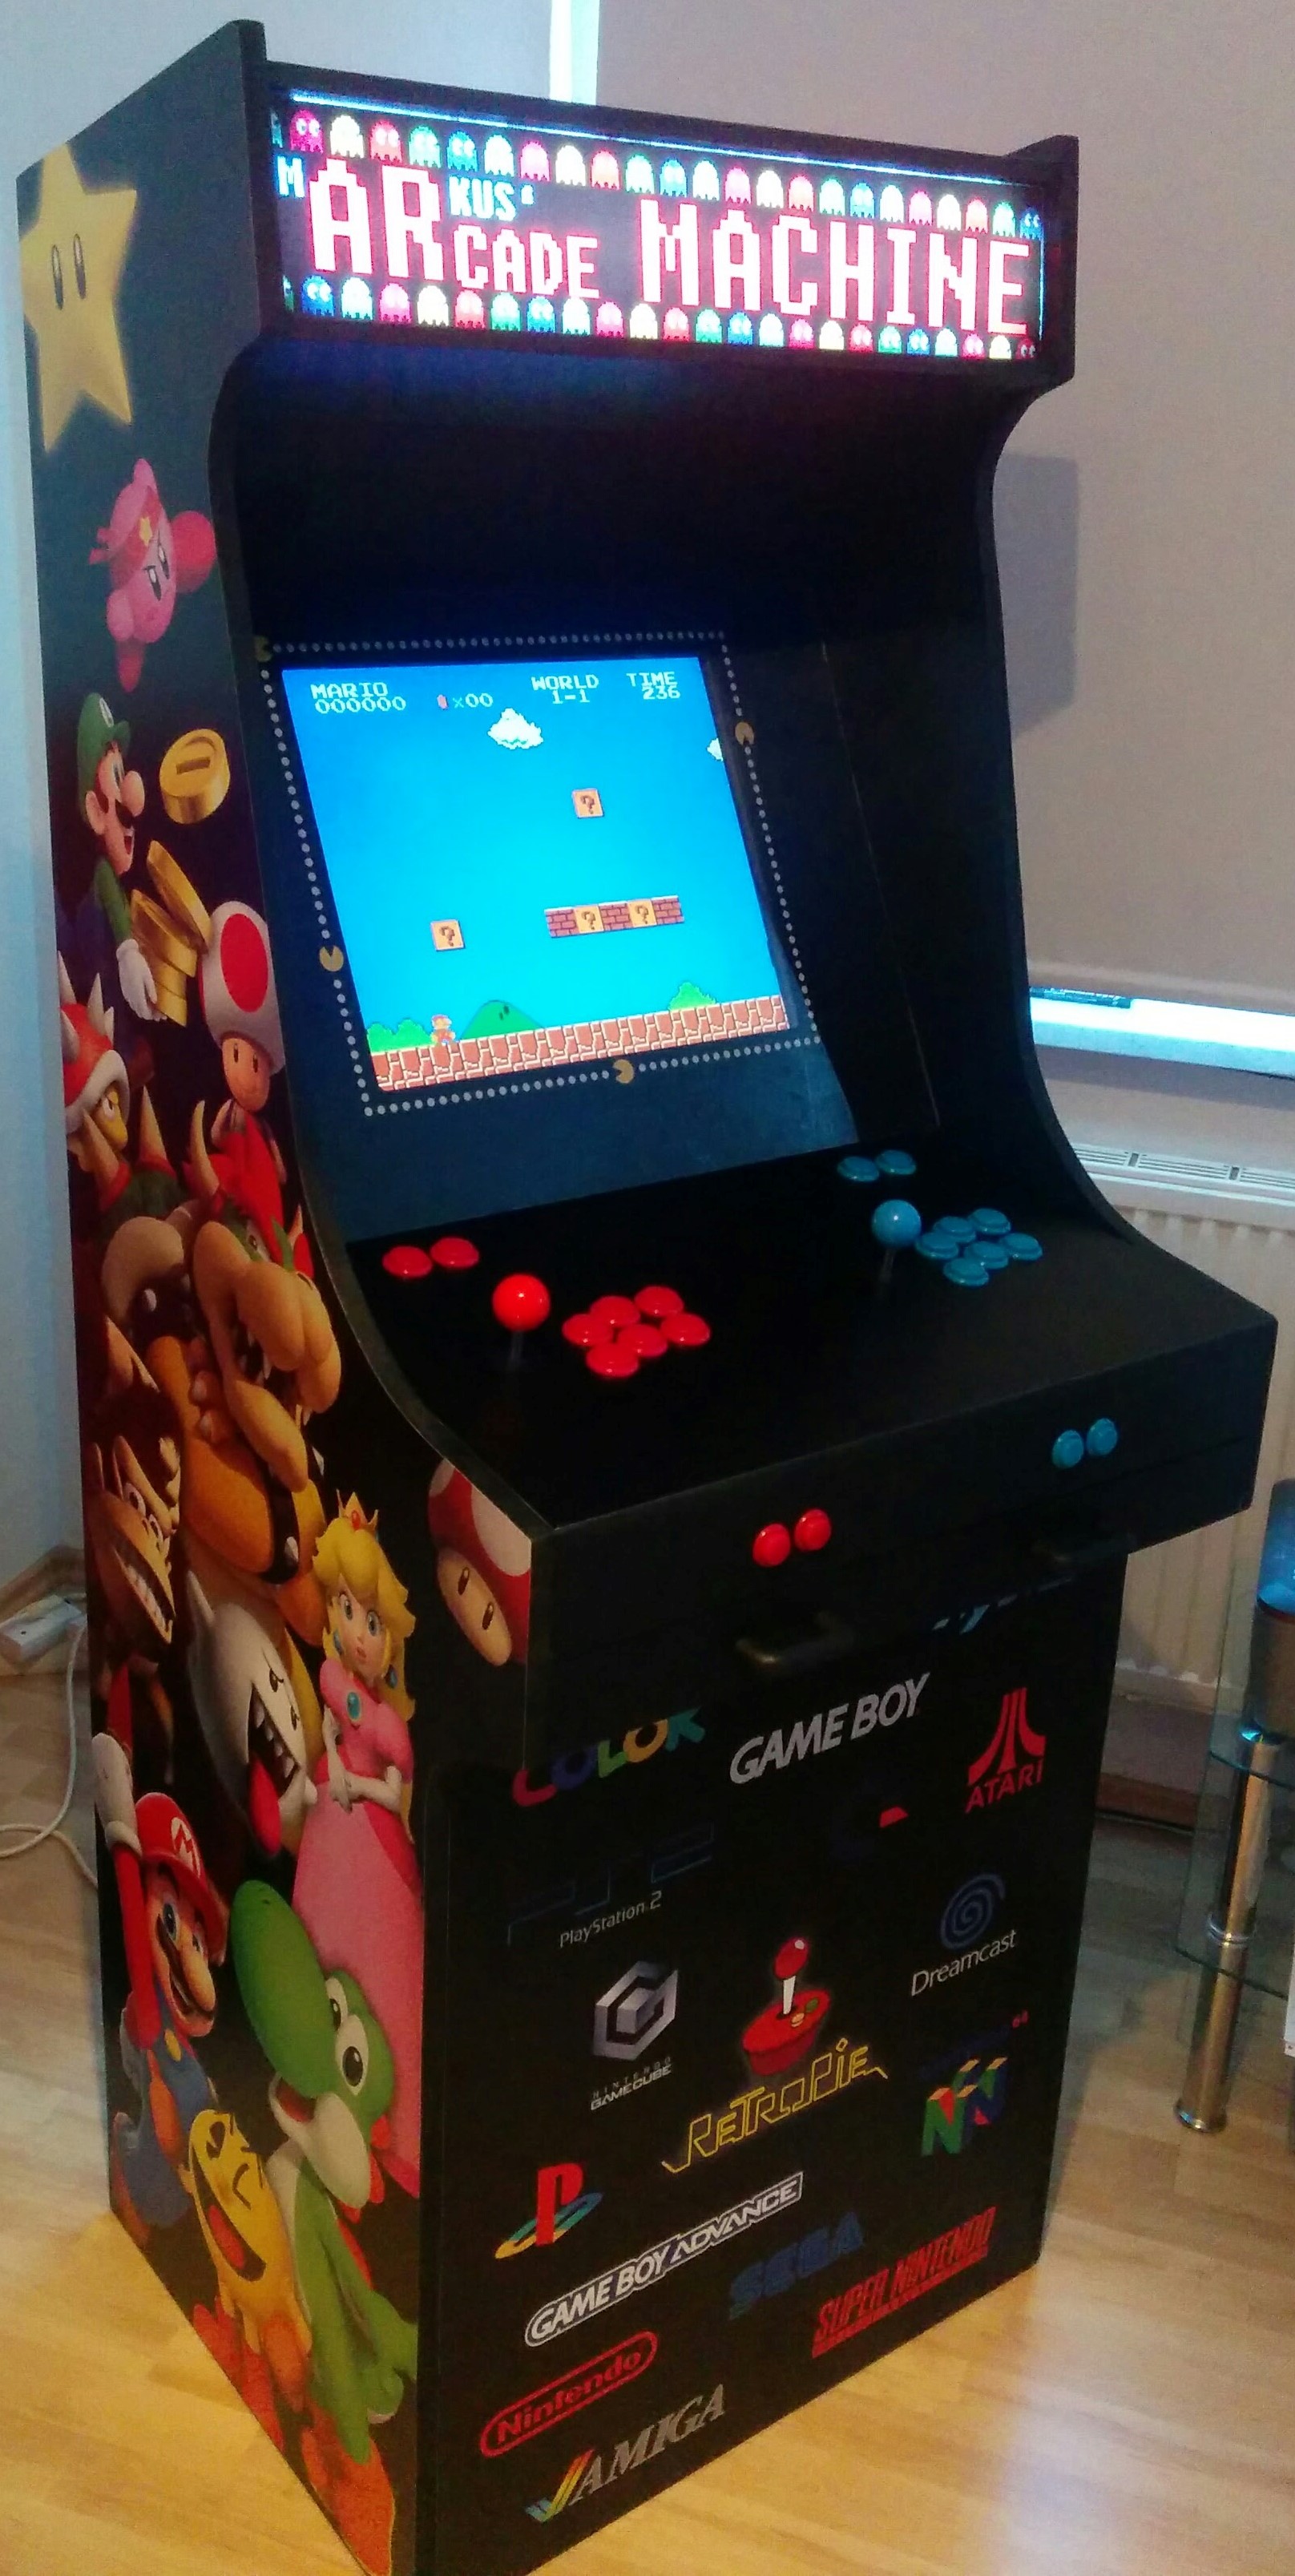
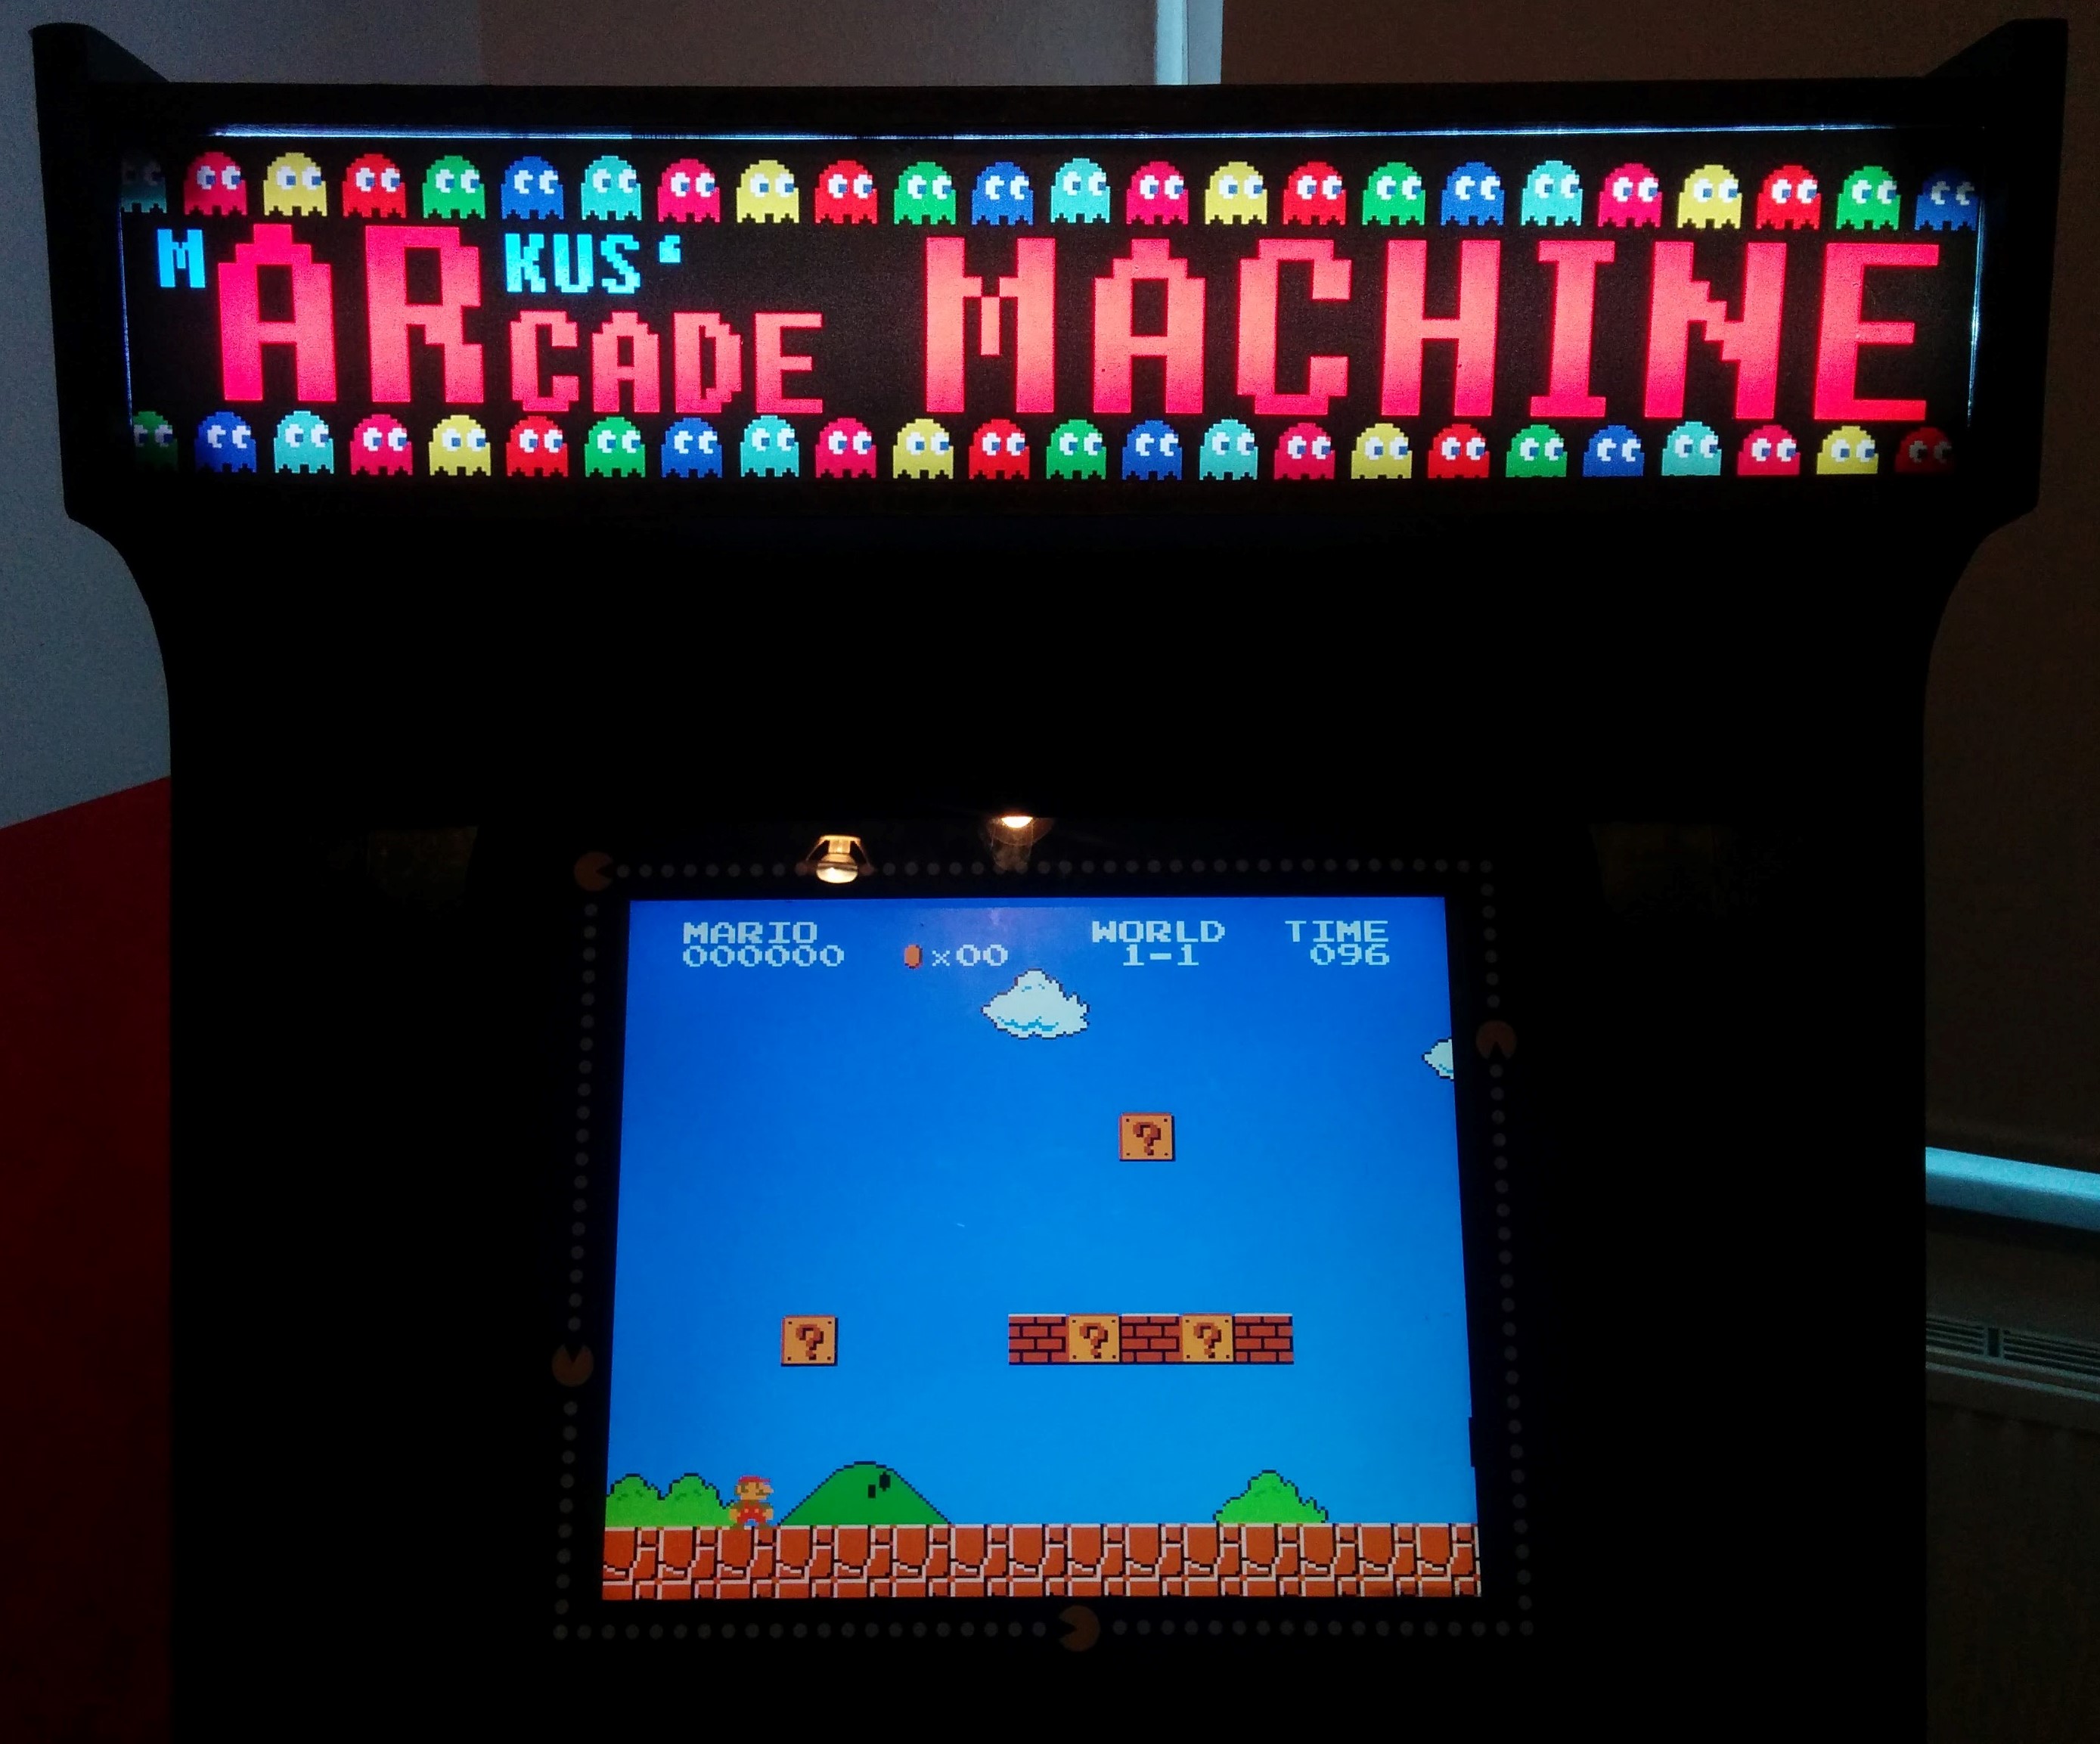
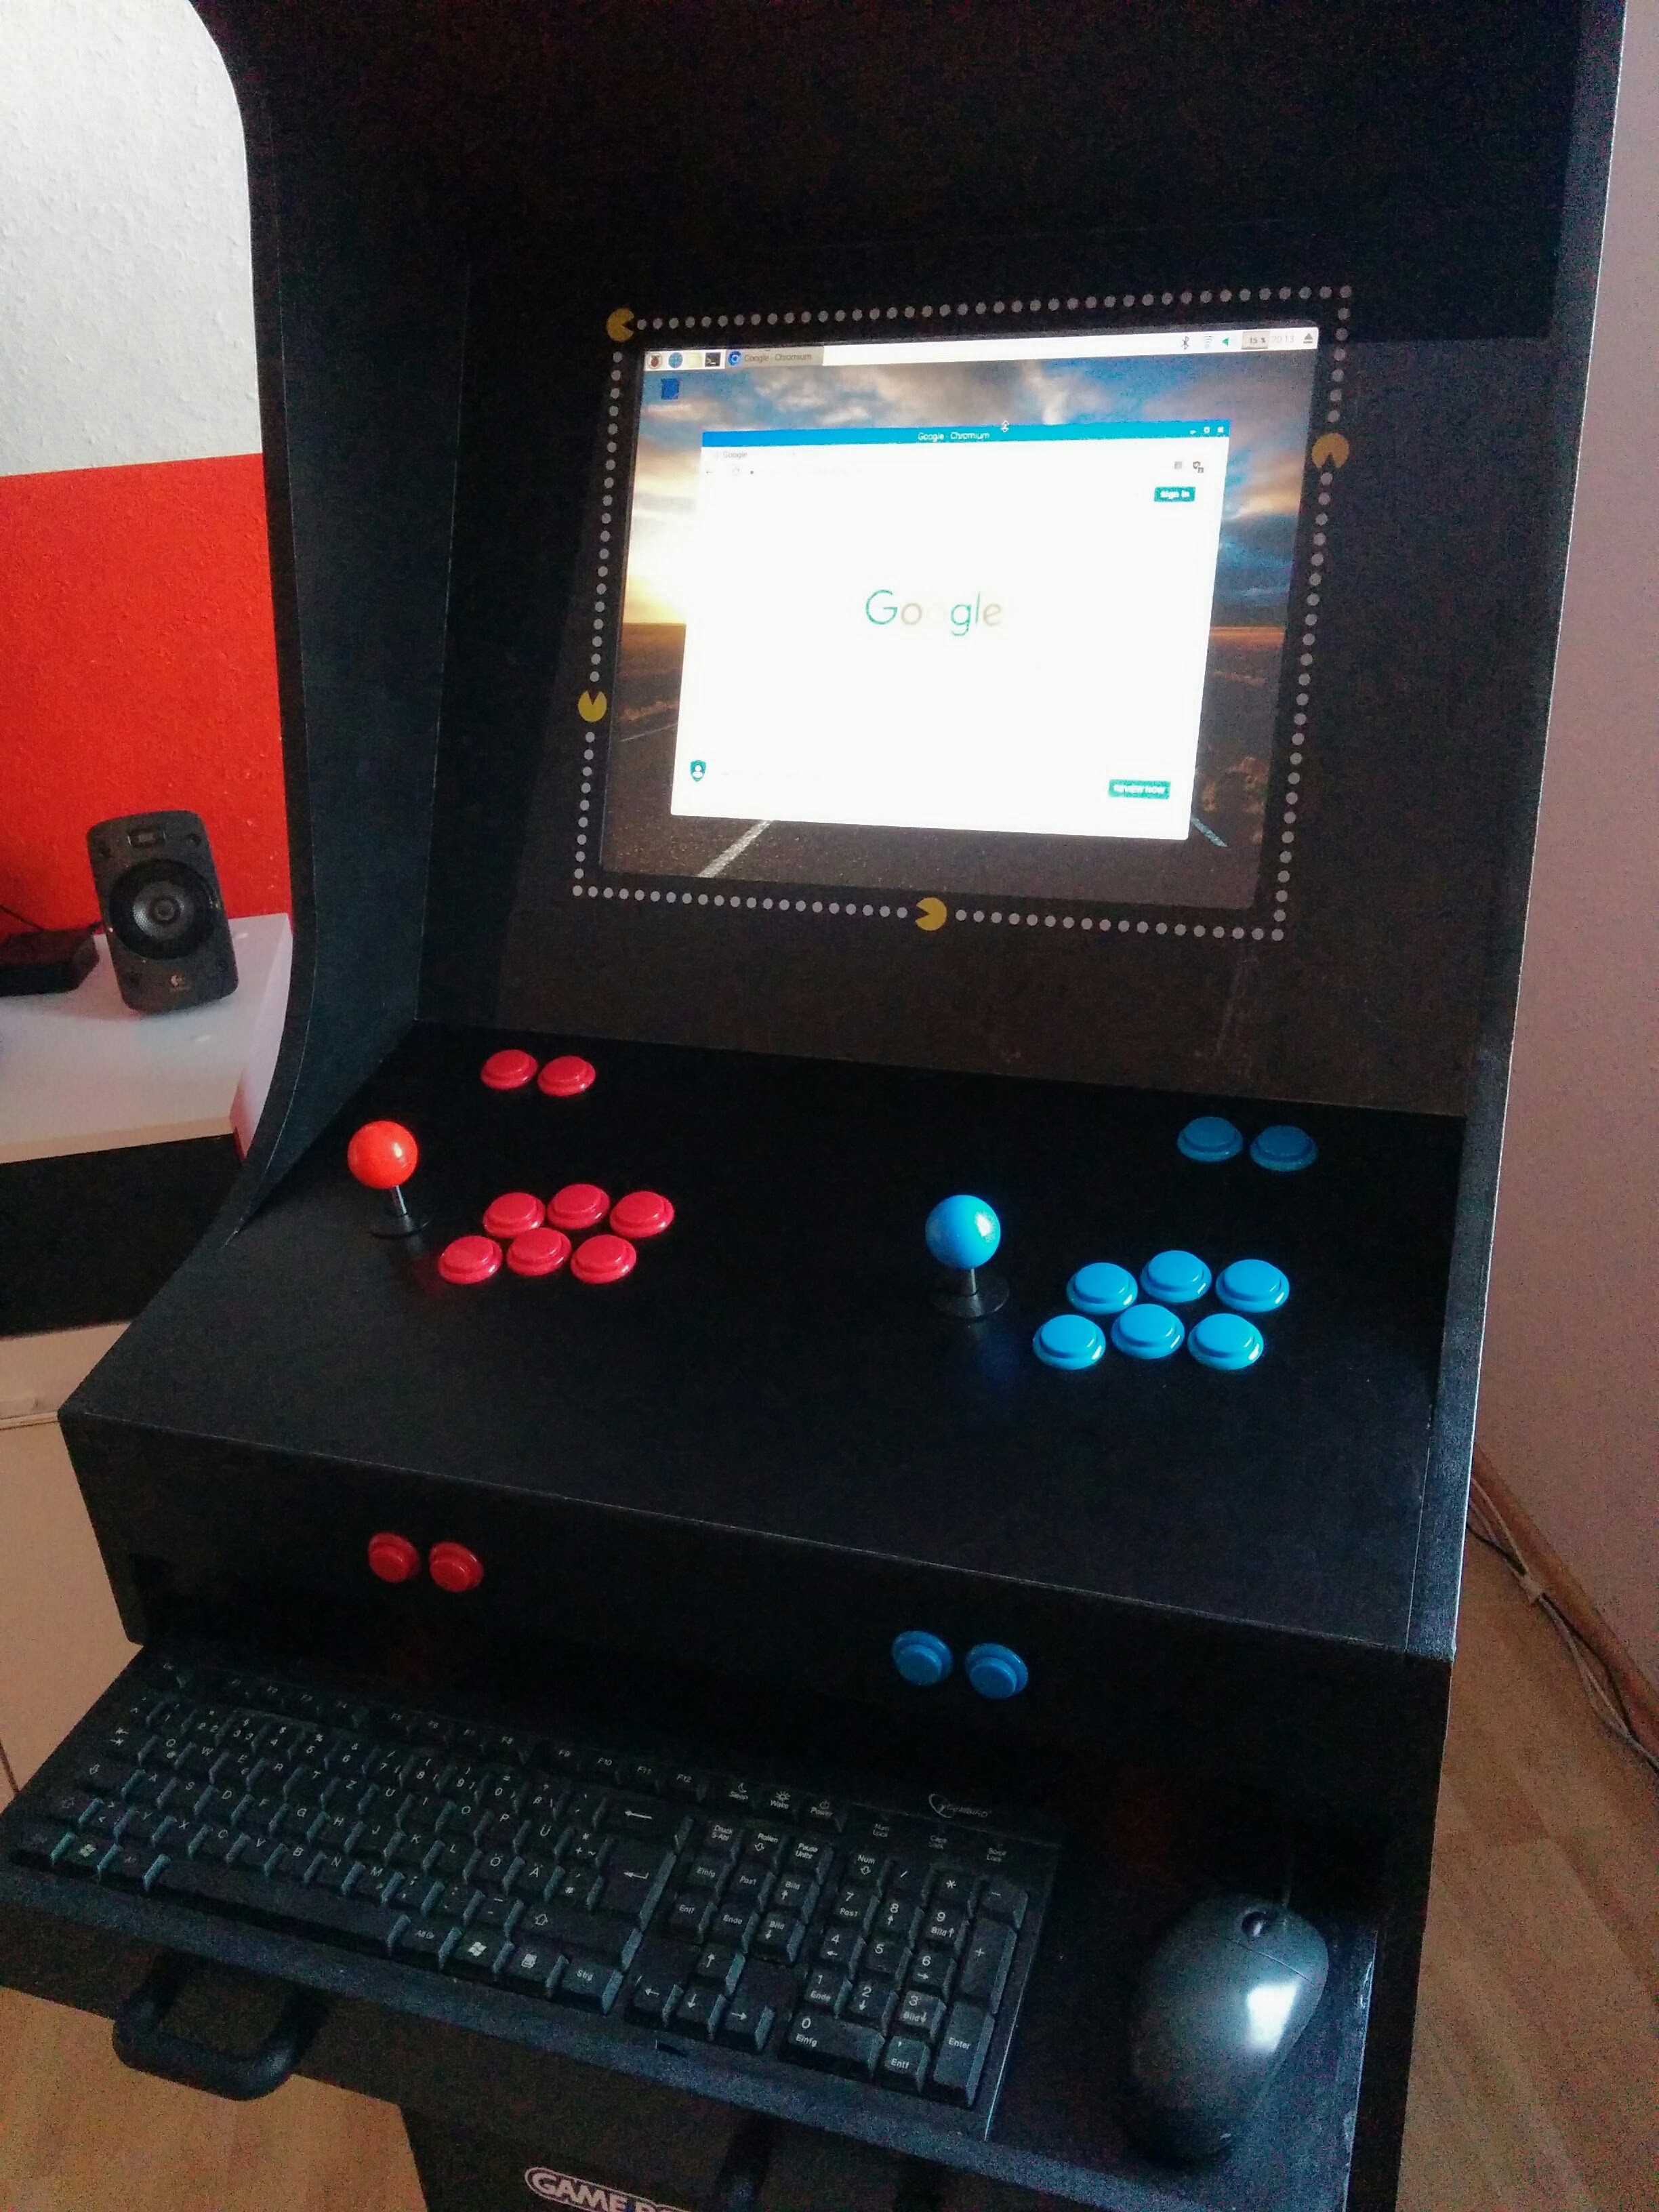
It’s been a long time since my last post and there was a lot of stuff going on. I currently write my bachelor thesis and surprisingly have got some spare time. This time I want to write about a project I already did a year ago: I built my own arcade machine! As a motivation, here is the result:
Preparation
The idea started while watching a video on YouTube about another arcade cabinet build. I then did some research and found some inspiration and plans on koenigs.dk for building your own cabinet. So credits to them!
To verify the plans I created a quick 3D model in Fusion 360:
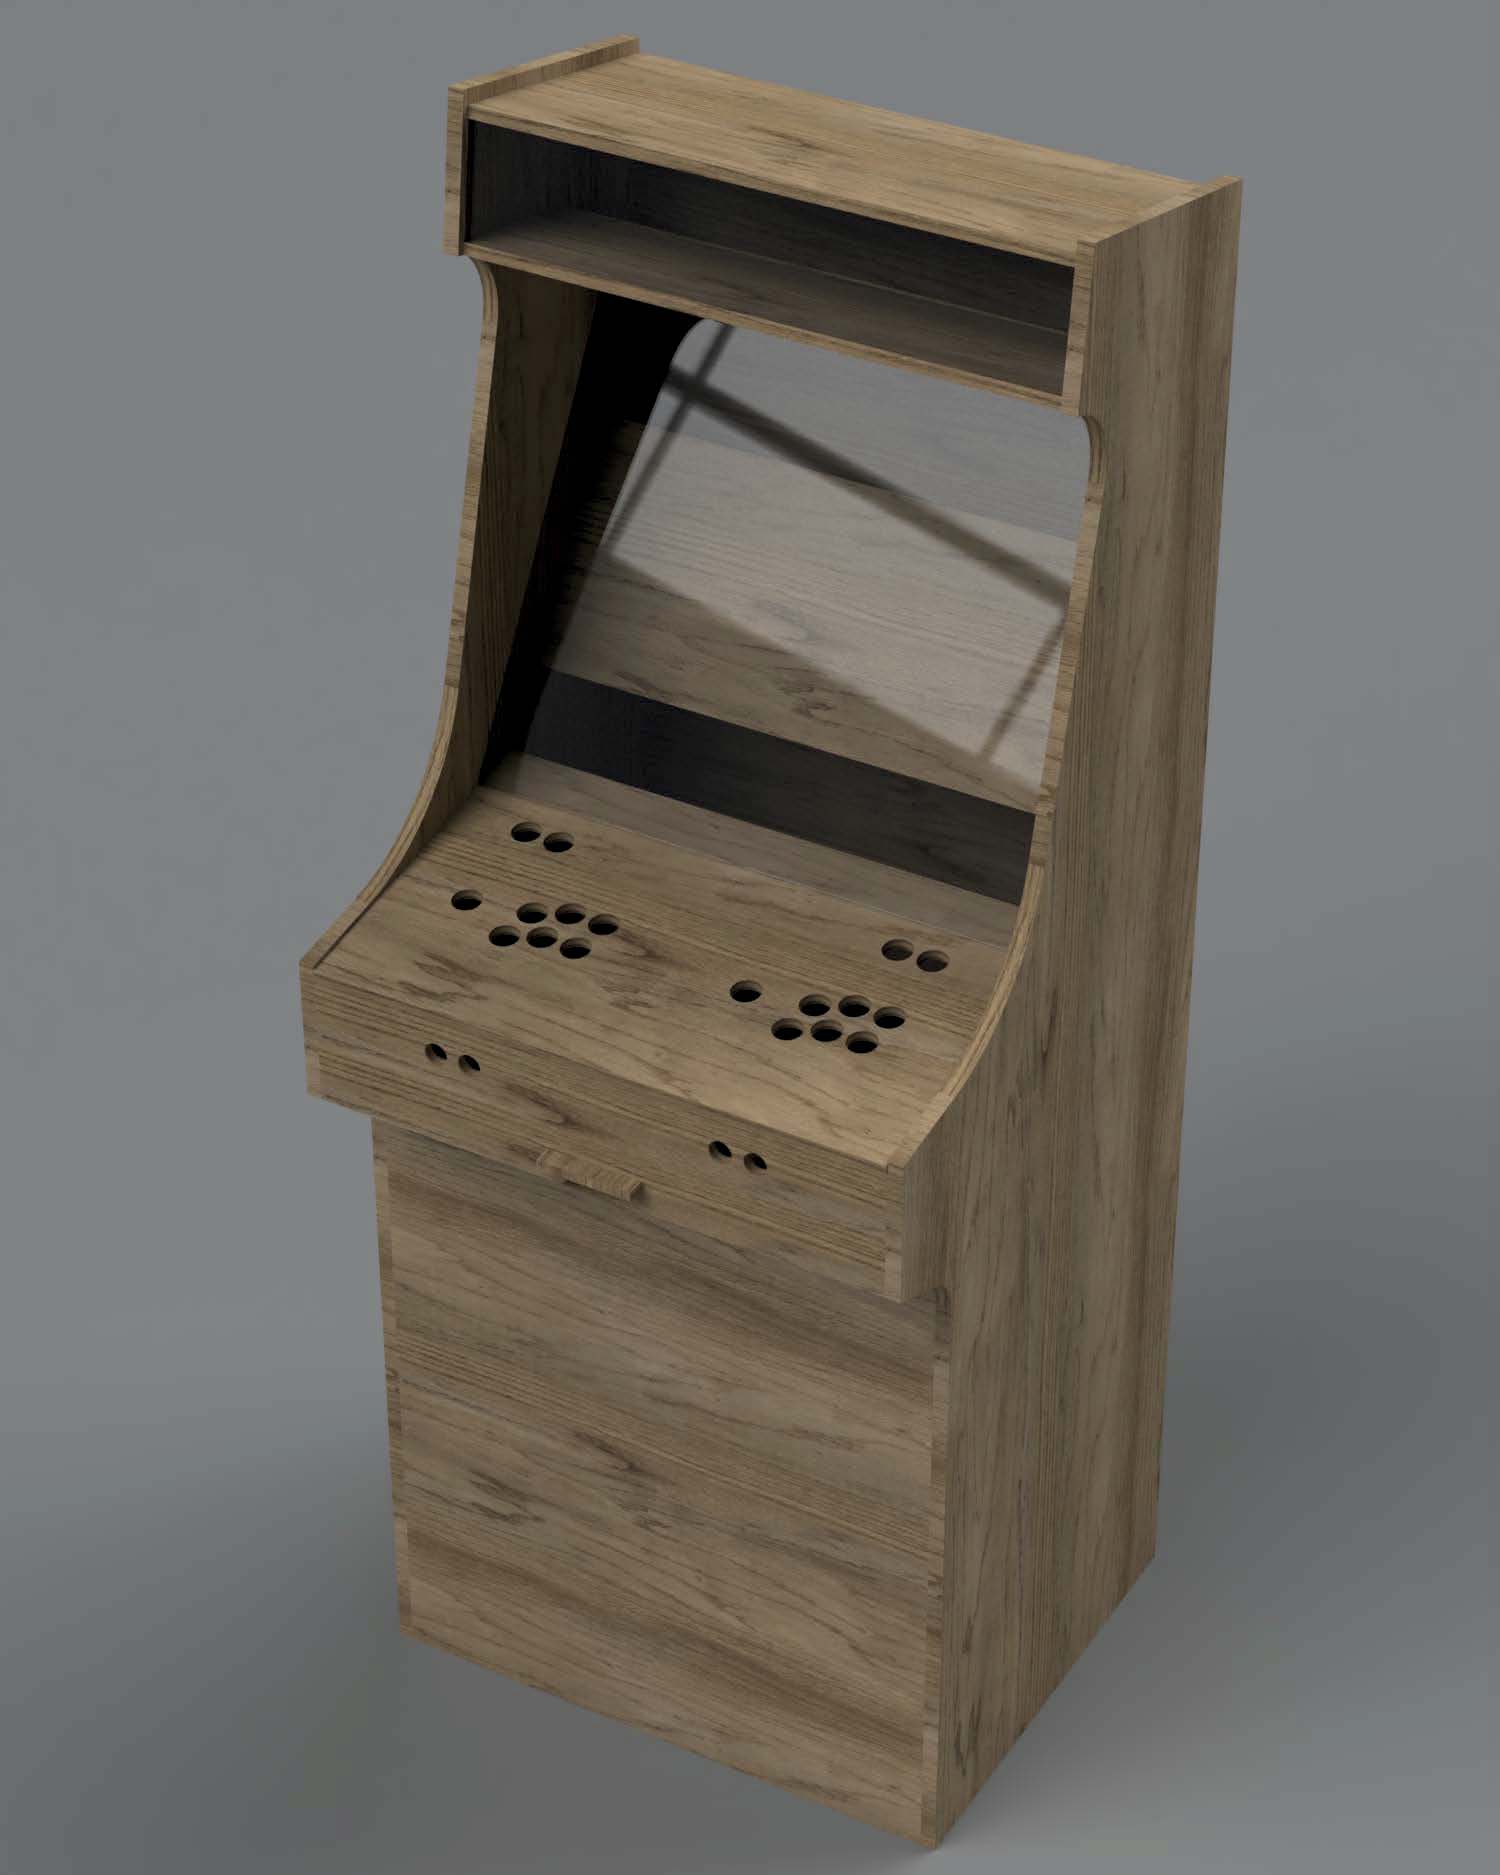
I made some small individual changes to the plans and printed them before I started building.
Parts
This is definitely not a cheap project but you’ll have a lot of fun building and using the arcade. And it’s also fully unique and just looks great.
| Part | ~ Price $ |
|---|---|
| Wood sides: 16 mm MDF, ~2 m² | $26 |
| Wood others: 12 mm MDF, ~2.5 m² | $31 |
| Laths | $0 |
| Plexiglass (display, marquee): 4 mm, ~0,4 m² | $19 |
| 2x buttons + joystick | $30 |
| LEDs for marquee | $5 |
| Old speakers | $0 |
| Old display | $0 |
| Raspberry Pi 3 model B, microSD, power supply | $40 |
| Raspberry Case with Fan | $8 |
| Black paint | $10 |
| Adhesive foil: Plexiglass marquee (translucent) | $25 |
| Adhesive foil: Plexiglass display (front-adhesive) | $20 |
| Adhesive foils for the wood parts | $50 |
| Total | $264 |
I’m sure you’ll find some old laths, speakers and a display for free. I had them laying around, as well as some LEDs, the black paint and the Raspberry Pi - so I already saved a lot.
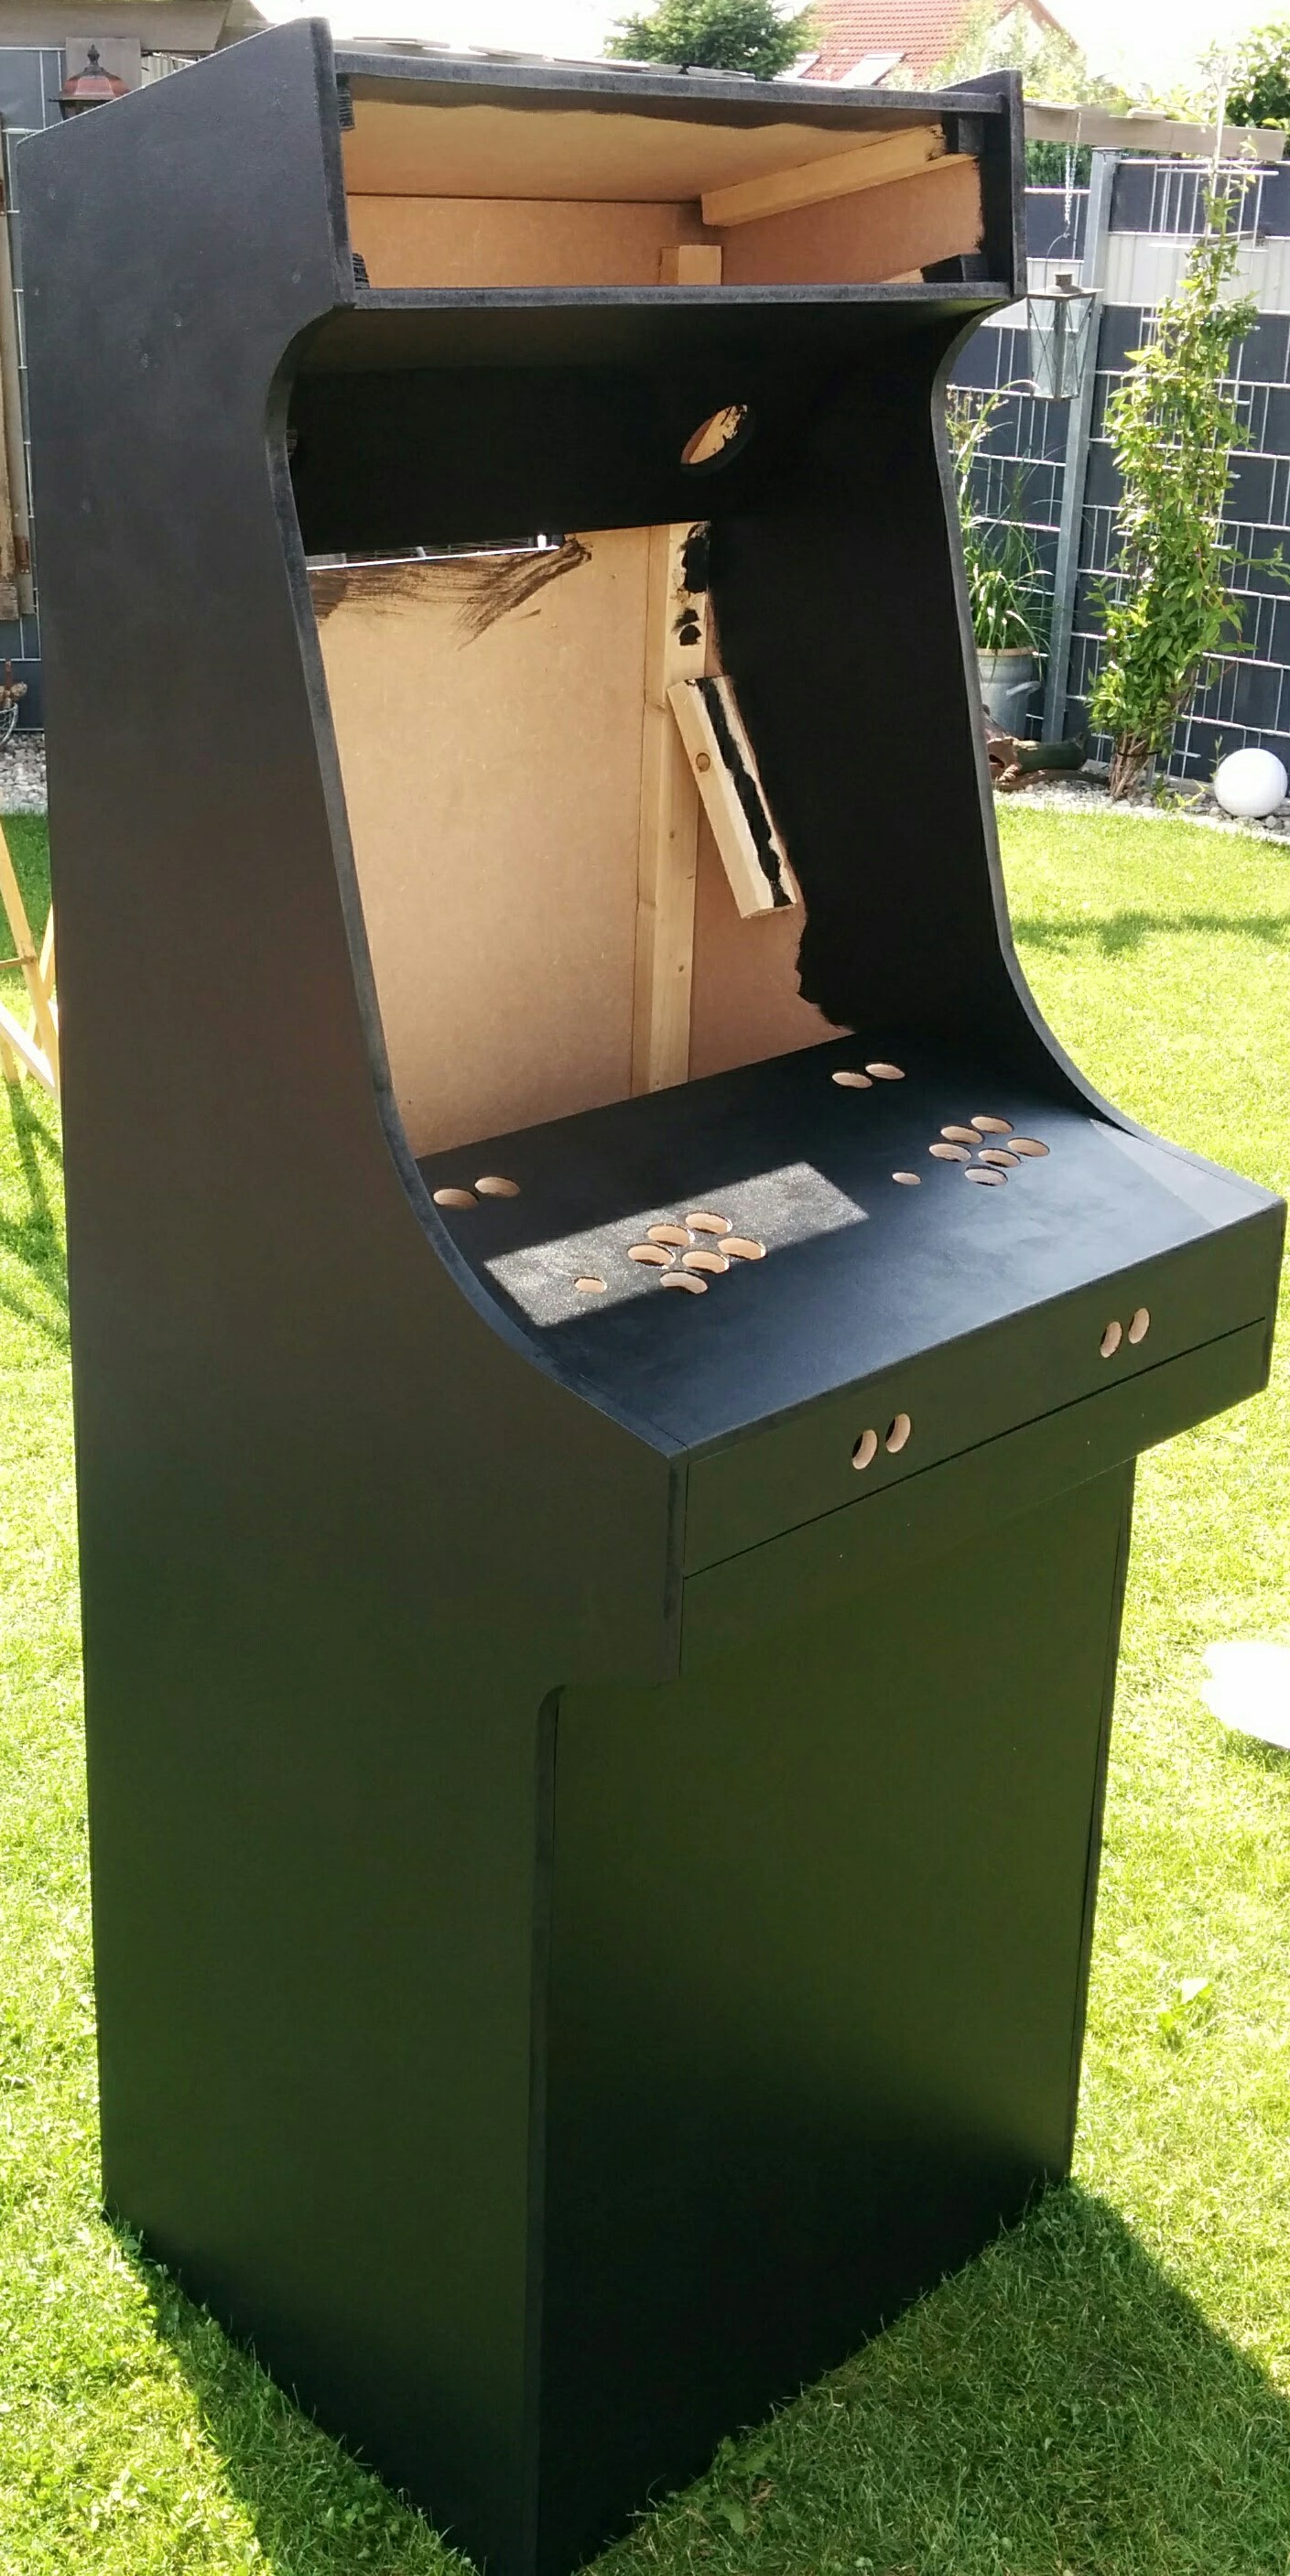
Build
The shop where I bought the wood already made most of the straight cuts for me. So I started cutting out the sides with a jigsaw and used another wood part as a spacer to screw on the laths to the sides. I basically just followed the plans and slightly improvised when running into problems.
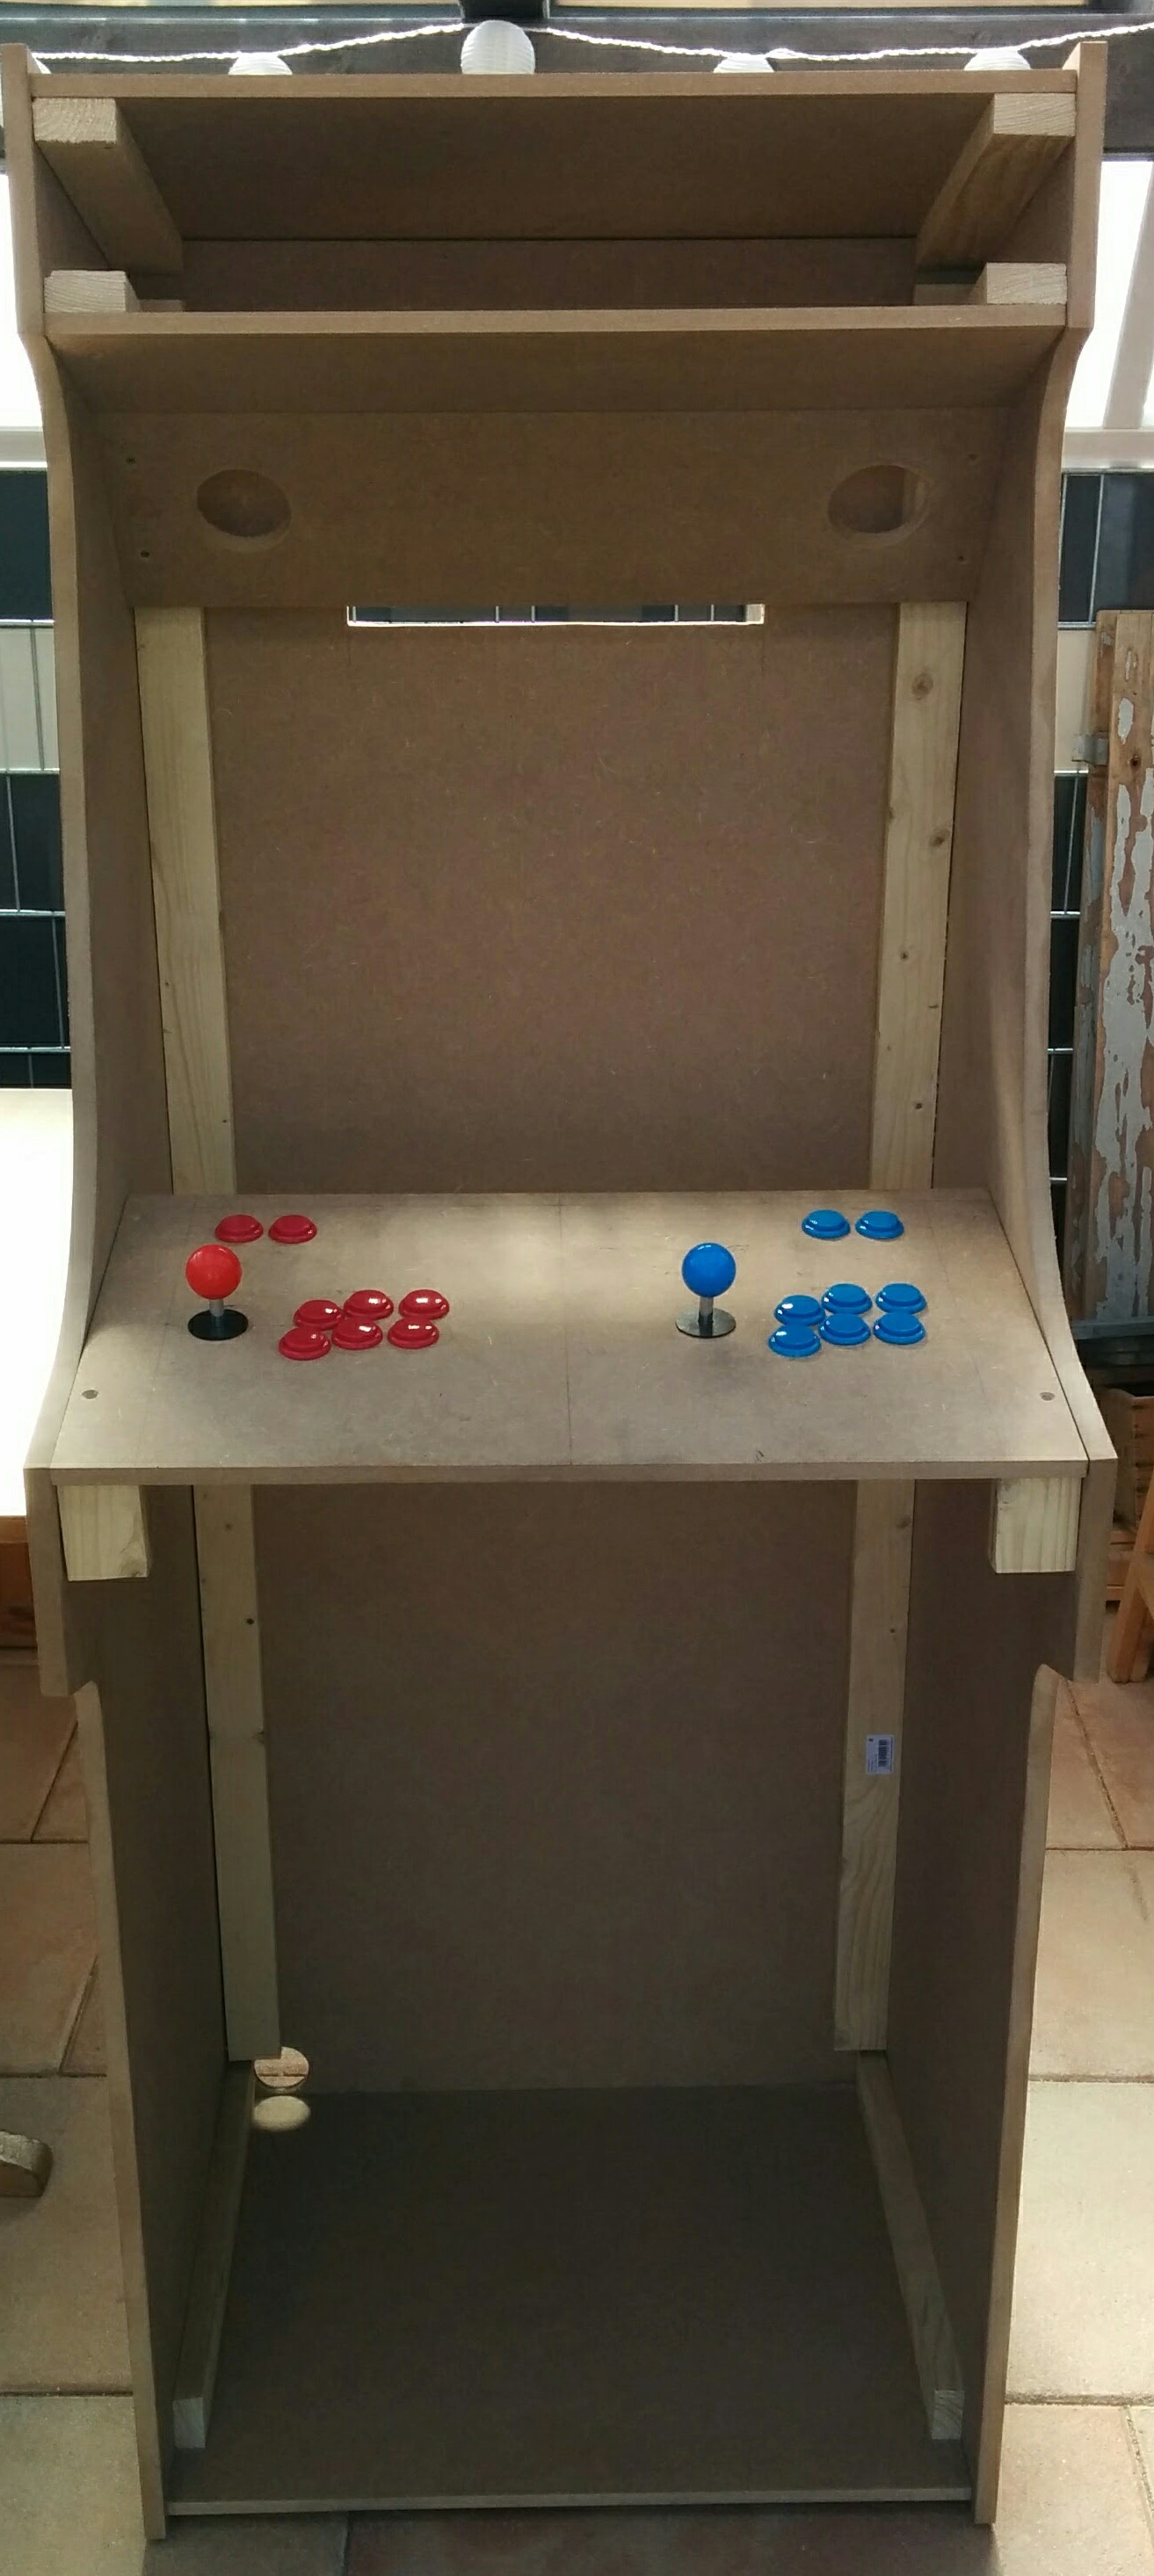
At the top I later decided to use smaller laths instead so that they won’t affect the LED light for the marquee later on. I also mounted a lath right in the center behind the marquee to install my LEDs.
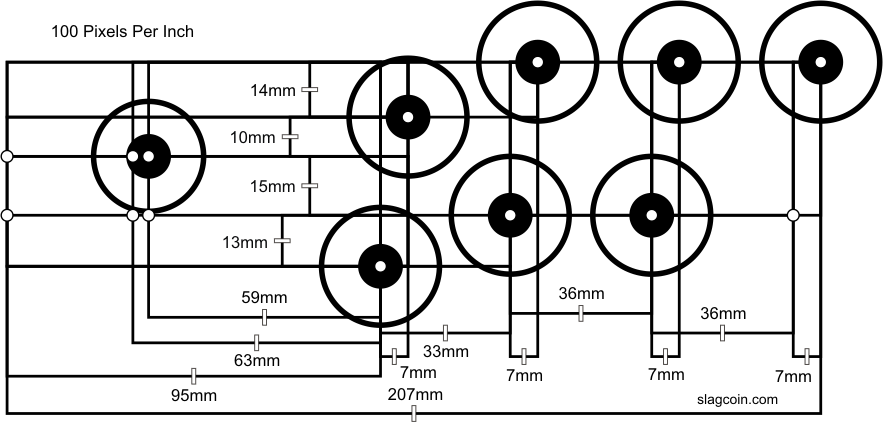
I mounted the kick plate with four strong magnets to have access to the Raspberry in case I need it. Also don’t forget to drill holes for the speakers, air duct and the power cable at the bottom as well as the joystick and the buttons (Template for button spacing). I inset the screws on the outside of the cabinet to fill them with wood filler. This ways you’ll get a flat surface which is recommended when you use adhesive foil on top later on.
As all of that was finished, I sanded down the whole cabinet before painting it black. Then comes the fun part, designing the arcade cabinet.
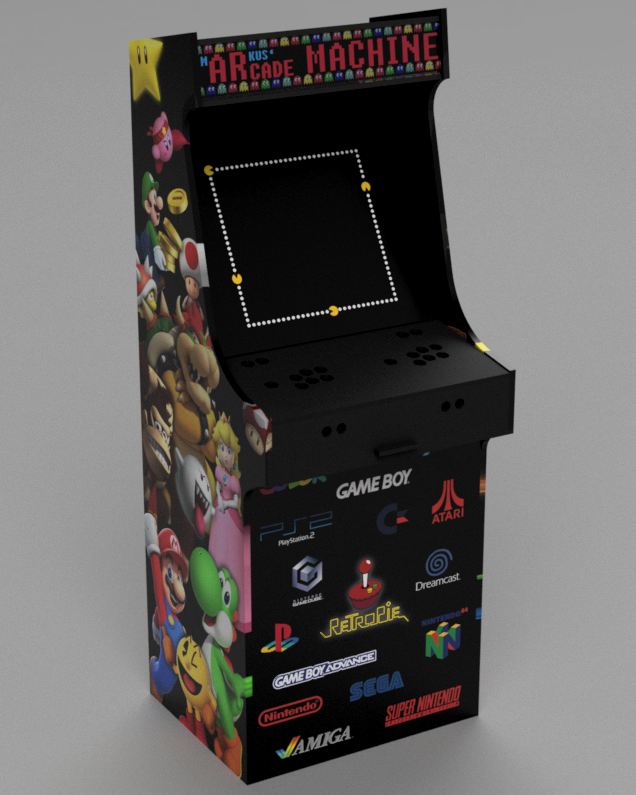
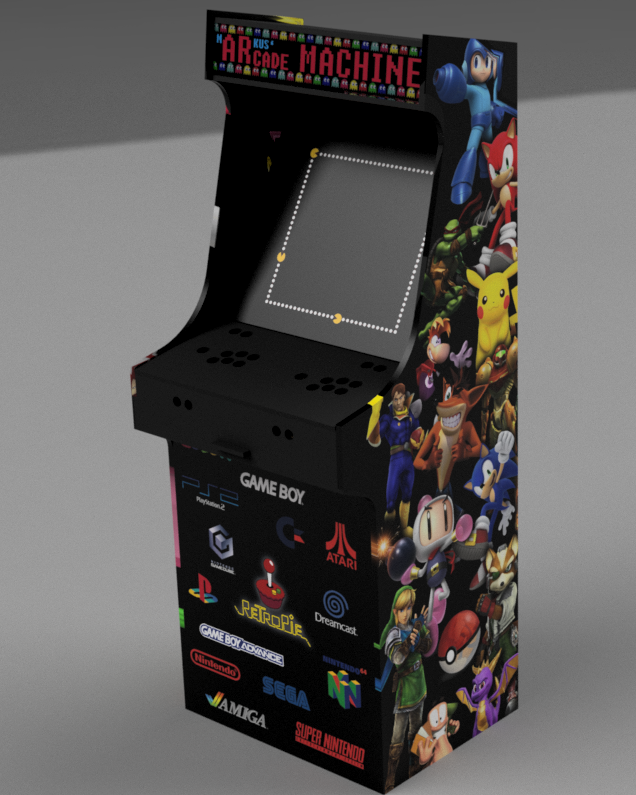
Design
The design is what makes the arcade unique so you should spent quite a lot of time with that. I kept it pretty simple and used some video game characters as well as some logos and put them together in a graphics program with the real measurements of the cabinet as a template. I made the graphics a bit bigger than the real parts to prevent having gaps in the end. I then again used Fusion 360 to get the overall picture of the design and was pretty happy with that:
The foil for the marquee needs to be translucent to let the light of the LEDs shine through from behind. I ordered a foil with adhesive on top of the graphic for the plexiglas in front of the display.
As most of the vendors just offer specific sizes of foils you should put your graphics together to fully utilize the whole space. Also read the recommendations of the vendor for resolution and DPI of the graphics to get the maximum quality.
To attach the foils to the wood you should start at one side an make sure the edges are parallel to each other. Then slowly stick it to the wood while removing the air bubbles which might appear. To get sharp edges you can use a scalpel. The foil for the marquee was the most difficult and even with help I attached it a bit askew. But with the lighting it looks great anyway:
Hardware
The LEDs were mounted onto a lath behind the Plexiglass of the marquee and were connected to a power source. Afterwards you can mount the buttons and the joystick. I mounted the circuit board of the USB controller at the bottom of the control panel. You then just need to plug all the cables into the circuit board and attach the USB cable to the Raspberry Pi.
I screwed the Pi to the bottom of the drawer to stop it from being dragged out to wide. I also used a case with a fan (see parts list) as the Raspberry got very hot while playing some newer games which need a higher performance.
For connecting the display I used an HDMI-to-VGA adapter I had laying around. I disassembled the old speakers, mounted them behind the holes under the marquee and connected the audio cable to the Pi.
Software
As you might have guessed from the logo on the kick plate: I used RetroPie. The installation is pretty simple and well described on the website. At the first start of RetroPi you’re able to map the buttons to the according actions.
Result
Although a bit expensive, it’s a very cool project. I had a lot of fun building it and it’s actually used pretty often. I also added an old keyboard and mouse so you could browse the web if you want to.

Comments